
So here is a step-by-step setup guide to setup SSL for Elastic Load Balancer (ELB) in AWS.
With the increasing popularity as well as the need for the SEO, SSL certificates are now becoming a prerequisite for any website that considers the security of the visitors as serious thing. But just purchasing an SSL certificate doesn’t make your website safe and it needs to be installed properly on the AWS server to make it work so as to actually benefit from it. You can seek the assistance of a server management expert like us to get the SSL certificate installed in your AWS server.
How to generate a CSR in Microsoft IIS 7
How to generate a CSR in Microsoft IIS 7
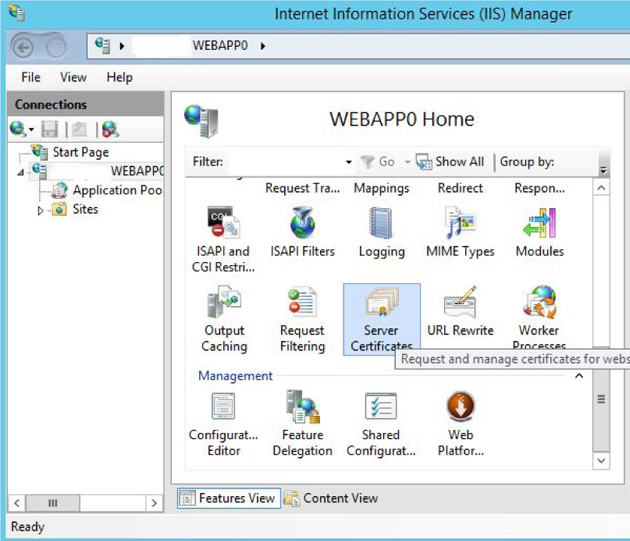
1. Click Start, then Administrative Tools, then Internet Information Services (IIS) Manager.
2. Click on the server name.
3. From the center menu, double-click the “Server Certificates” button in the “Security” section
(it is near the bottom of the menu)
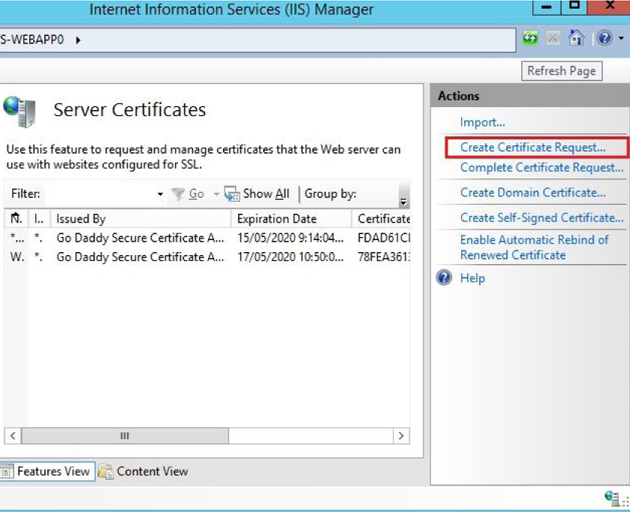
4. Next, from the “Actions” menu (on the right), click on “Create Certificate Request”. This will open the Request Certificate wizard.
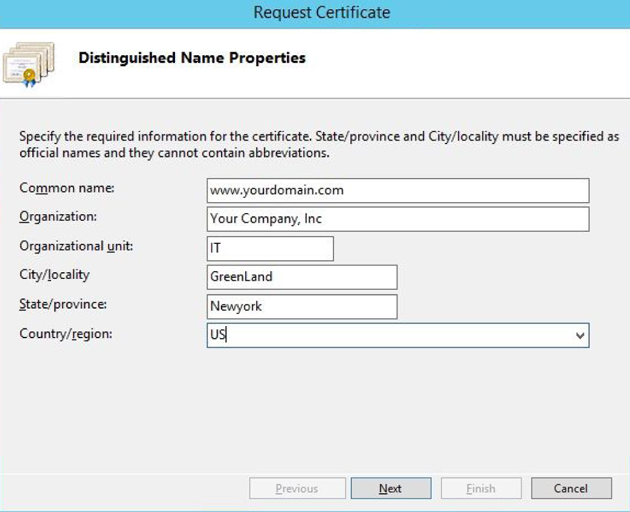
5. In the “Distinguished Name Properties” window, enter the information as follows:
- Common Name – The name through which the certificate will be accessed (usually the
fully-qualified domain name, e.g., www.domain.com or mail.domain.com). - Organization – The legally registered name of your organization/company
- Organizational unit – The name of your department within the organization (frequently
this entry will be listed as “IT,” “Web Security,” or is simply left blank). - City/locality – The city in which your organization is located.
- State/province – The state in which your organization is located.
6. Click Next.
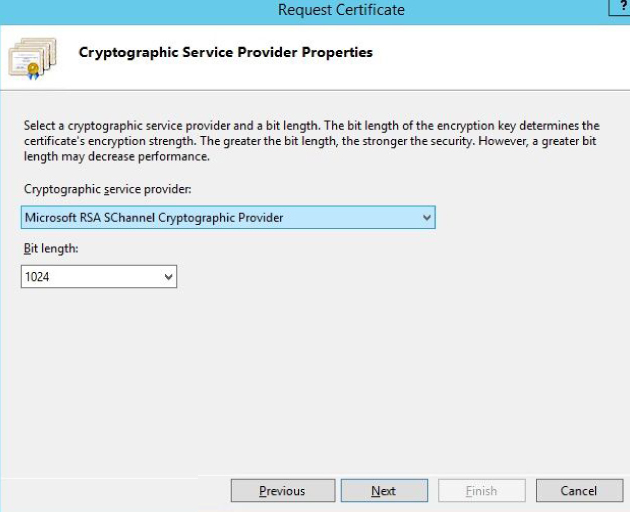
7. In the “Cryptographic Service Provider Properties” window, leave both settings at their defaults (Microsoft RSA SChannel and 2048) and then click next.
8. Enter a filename for your CSR file.
9. Remember the filename that you choose and the location to which you save it. You will need to open this file as a text file and copy the entire body of it (including the Begin and End Certificate Request tags) into the online order process when prompted.

Backup Private Key
To backup a private key on Microsoft IIS follow these instructions:
1. From your server, go to Start > Run and enter mmc in the text box. Click on the OK button.
2. From the Microsoft Management Console (MMC) menu bar, select Console >
Add/Remove Snap-in.
3. Click on the Add button. Select Certificates from the list of snap-ins and then click on the Add button.
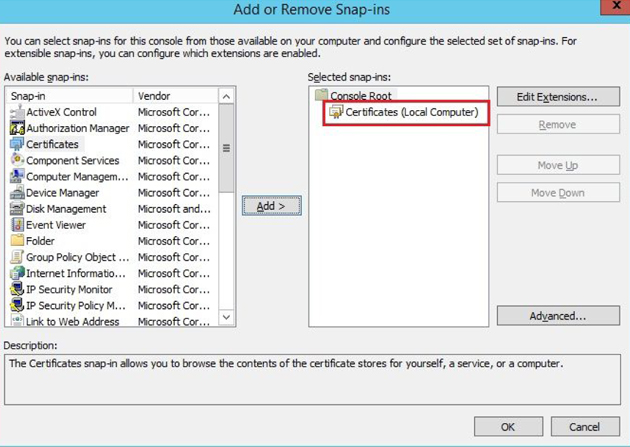
4. Select the Computer account option. Click on the Next button
5. Select the Local computer (the computer this console is running on) option. Click on the Finish button.
6. Click on the Close button on the snap-in list window. Click on the OK button on the Add/Remove Snap-in window.
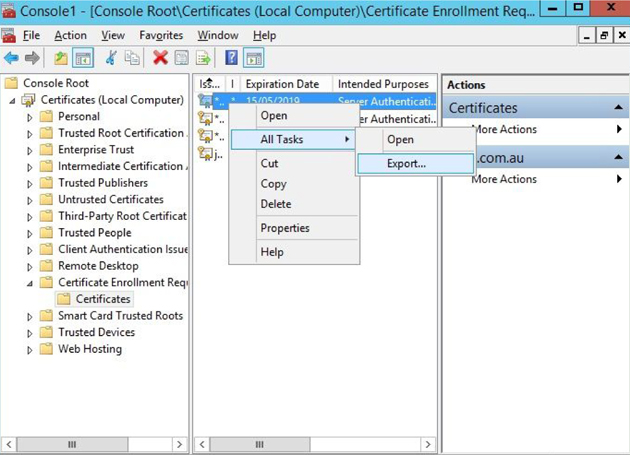
7. Click on Certificates from the left pane. Look for a folder called REQUEST or “Certificate Enrollment Request > Certificate”
8. Select the private key that you wish to backup.Right click on the file and choose > All Tasks > Export
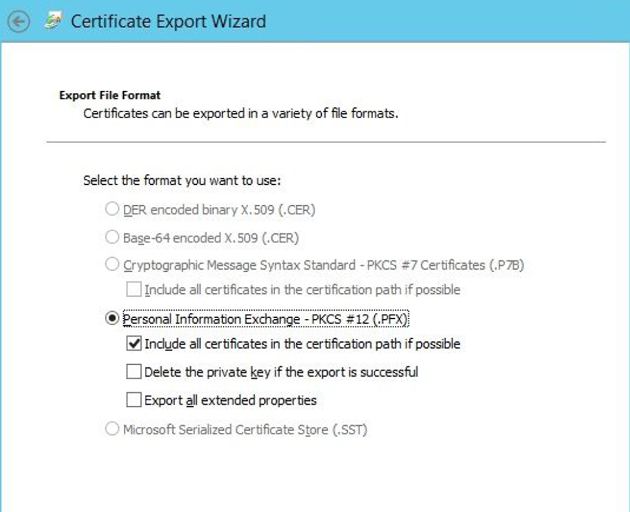
9. The certificate export wizard will start, please click Next to continue. In the next window select Yes, export the private key and click Next.
10. Leave the default settings selected and click Next.
11. Set a password on the private key backup file and click Next.
12. Click on Browse and select a location where you want to save the private key Backup file to and then click Next to continue. By default the file will be saved with a .pfx extension.
13. Click Finish, to complete the export process.
Convert to RSA Private Key Format
The private key is backed up as a ‘.pfx’ file, which stands for Personal Information Exchange.
To convert it to RSA Private Key format supported by inSync:
1. Download and install latest version of OpenSSL for windows from
http://www.slproweb.com/products/Win32OpenSSL.html.
2. Open command prompt, navigate to C:\OpenSSL-Win32\bin>, and run the following commands.
openssl pkcs12 -in Wild.pfx -nocerts -out wildkey.pem

openssl rsa -in wildkey.pem -out private.key
3. The private key will be saved as ‘myserver.key’.

4. Carefully protect the private key. Be sure to backup the private key, as there is no means to recover it, should it be lost.
Uploading GoDaddy SSL certificate on AWS Load Balancer
So you have purchased an SSL certificate from GoDaddy and now you want to deploy it on the Amazon Load Balancer.
In the AWS web console, go the “Load Balancers” section. Select your ELB and click on the “Listeners” tab. Now add a new listener for HTTPS
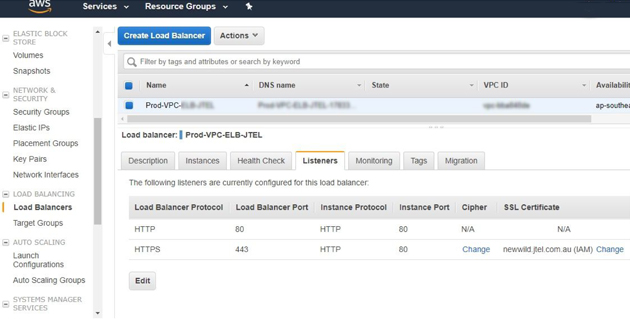
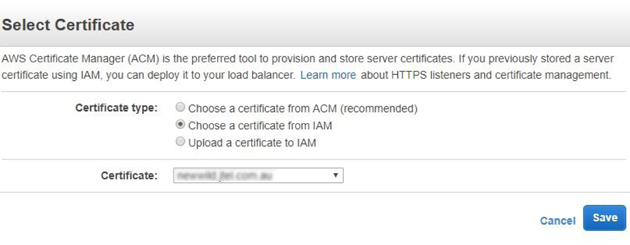
Click on the “Change” link the “SSL Certificate” column. You will see the following screen.
Certificate Name: Enter the name you want to give this certificate.
Private Key: This private key is the one you generated when generating the CSR and it is called server.key. This file will now have to be altered to create an Amazon supported private key. This can be done using openssl as follows.
openssl rsa -in server.key -out decrypted-server-key.pem
Now copy the contents of the file decrypted-server-key.pem and paste them into the “Private Key” section.
Public Key Certificate:
This is the file that you got from GoDaddy, it would look something like “yourdomain.crt”.
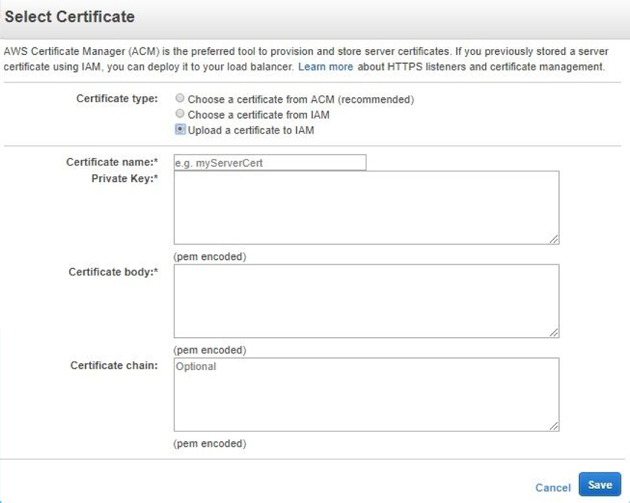
Copy the entire lines and paste it into the “Public Key Certificate” section.
That’s it. Click on “Save” and you are done setting a SSL for SSL Elastic Load Balancer in AWS.
And remember to seek the assistance of a server management expert like us who can provide expert advise and help you set up things in a timely manner.
Hope you liked it and if any assistance needed Contact Us.
Follow us on Facebook, Twitter, LinkedIn to get latest updates!


