No products in the cart.

In this guide, we will see how to install and configure GitLab on Ubuntu 14.04 server. At a high level, here are the list of steps you would go through to complete the process:
- 1. Install and configure the necessary dependencies
- 2. Add the GitLab package repository and install the package
- 3. Adjusting the Firewall Rules
GitLab is an open source version control system using Ruby on Rails, a self-hosted Git project repository that provides access to public (or) private projects via the web interface, similar to Github. It also has additional development-related features like issue tracking. It offers the flexibility in deploying as an internal repository for your development team, publicly as a way to interface with users, or even open as a way for contributors to host their own projects.
Introduction of Git Family:
Git is a version control system, is a command, and a tool.
Github is an online code hosting repository based on Git implementations, with a web interface to the Internet.
GitLab is a Git-based online code warehouse hosting software, you can use gitlab to build a system similar to Github, generally used in enterprises, schools and other internal networks to build git.
GitLab’s Services:
- Nginx: a static web server
- gitlab-shell: used to process Git commands and modify the authorized key list
- gitlab-workhorse: a lightweight reverse proxy server
- logrotate: log file management tool
- postgresql: a database server
- redis: a cache database
- sidekiq: used to perform queue tasks in the background (asynchronous execution)
- unicorn: a HTTP server for Rack applications, GitLab Rails applications are hosted on top of this server.
Gitlab workflow:
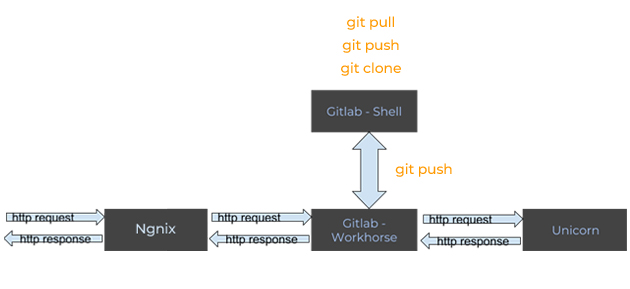
Gitlab Deployment:
1. Install and configure the necessary dependencies
Below command will install Curl, openssh and ca certificates.
sudo apt-get install -y curl openssh-server ca-certificates
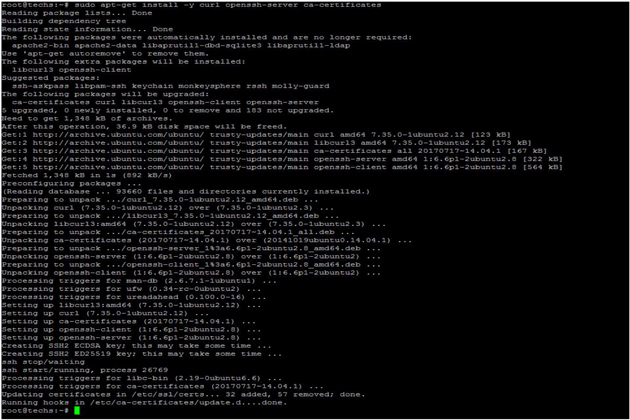
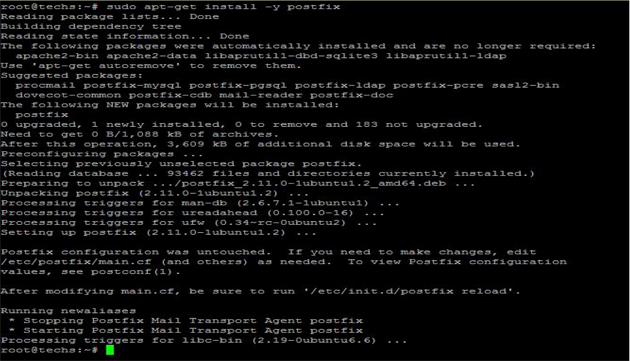
We have to configure a mail server to send notification emails. Here, we are going to install Postfix mail server.
sudo apt-get install -y postfix
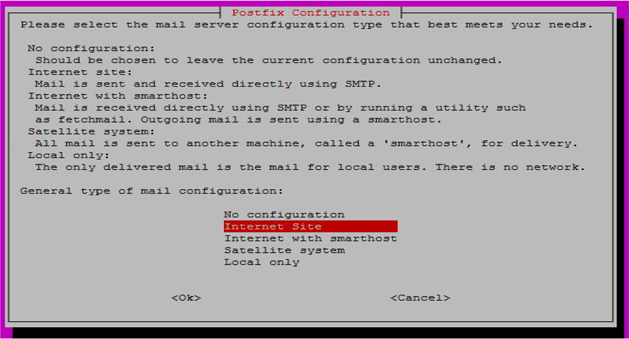
During Postfix installation a configuration screen may appear. Select ‘Internet Site’ and press enter. Use your server’s external DNS for ‘mail name’ and press enter.
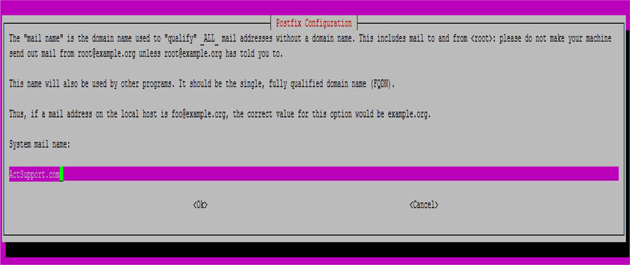
If additional screens appear, continue to press enter to accept the defaults.
2. Add the GitLab package repository and install the package
To add the GitLab package repository.
curl
https://packages.gitlab.com/install/repositories/gitlab/gitlab-ee/script.deb.
sh | sudo bash
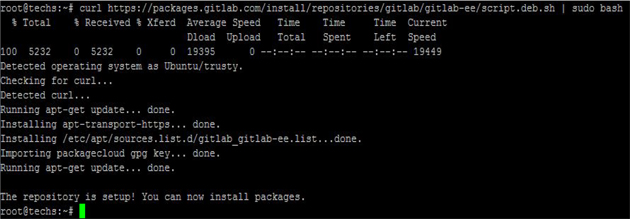
Next, we can install the GitLab package. Change `http://git.example.com` to the URL at which you want to access your GitLab instance. The installation will automatically configure and start GitLab at that URL. HTTPS requires additional configuration after installation.
sudo EXTERNAL_URL="http://git.example.com" apt-get install gitlab-ee
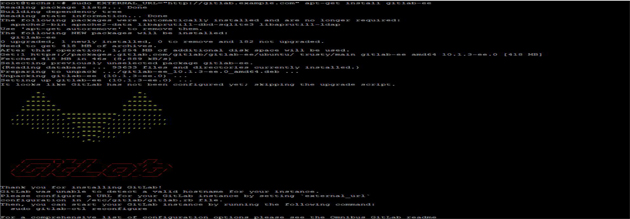
The previous command will install the necessary components on your system. Before you can use the application, however, you need to run an initial configuration command:
$sudo gitlab-ctl reconfigure
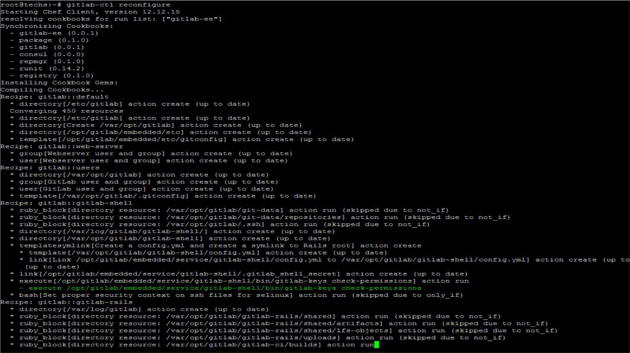
This will initialize GitLab using information it can find about your server. This is a completely automated process, so you will not have to answer any prompts.
3. Adjusting the Firewall Rules
sudo ufw allow http
sudo ufw allow OpenSSH
Before you can access the GitLab for the first time, you will need to ensure that your firewall rules are permissive enough to allow normal web traffic. Once firewall allowed http and openSSH ports, start the Gitlab service.
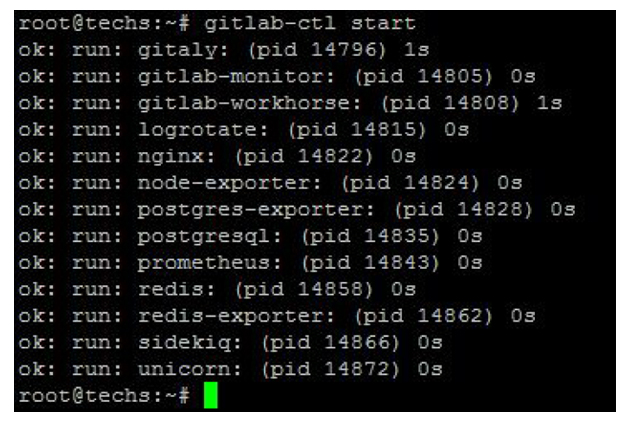
Gitlab is now ready to access via the browser. On your first visit, you’ll be redirected to a password reset screen. Provide the password for the initial administrator account and you will be redirected back to the login screen. Use the default account’s username root to login.
Apache instead of built-in Nginx:
By default, Nginx comes with Gitlab service. To use another web server like Apache, you have to edit some configuration files.
1. Stop GitLab services
$ gitlab-ctl stop
2. Disable built-in Nginx
GitLab configuration file should be located in /etc/gitlab. Edit the following file using one of your favorite file editor to disable bundled Nginx.
vim /etc/gitlab/gitlab.rb
‘nginx['enable'] = false'
Set the username of the non-bundled web server user in the following file:
Vim /etc/gitlab/gitlab.rb
‘web_server['external_users'] = ['apache']'
3. Add virtual host for GitLab to Apache
Create a new virtual host file for GitLab with the following directives…
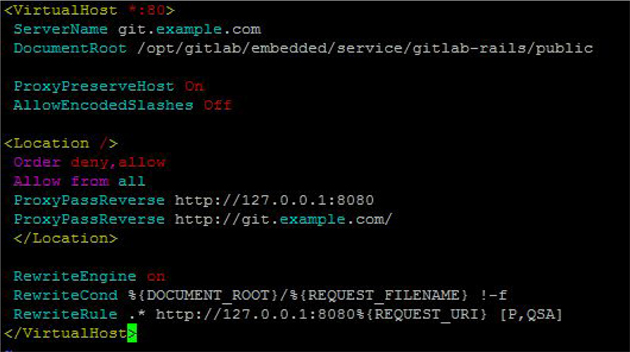
Restart or start Apache once the virtual host file is in place.
$service httpd reload
4. Reconfigure GitLab
This will parse your updated GitLab configuration file and disable Nginx.
$ gitlab-ctl reconfigure
5. Start GitLab services
Since we turned GitLab off earlier, let’s boot it back up.
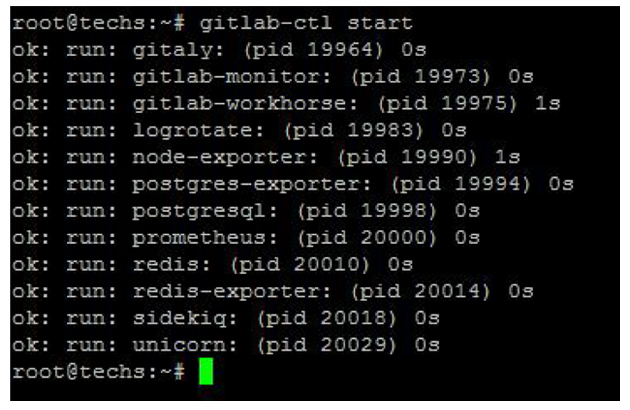
Nginx should not be listed anymore in the above screenshot. Gitlab service will be running on your existing Apache web server.
You should now have a working GitLab instance hosted on your Ubuntu server. You can create new projects and set appropriate level of access for your team. There are frequent updates happening on GitLab platform and so please ensure to check their blog to stay up-to-date on any releases or upgrade.
In case you need any assistance to setup GitLab on your Ubuntu server or if you have trouble making it run on Apache, you can reach our server management expert who can provide the expert advise and help you set up things in a timely manner.


